
Last updated November 2, 2026
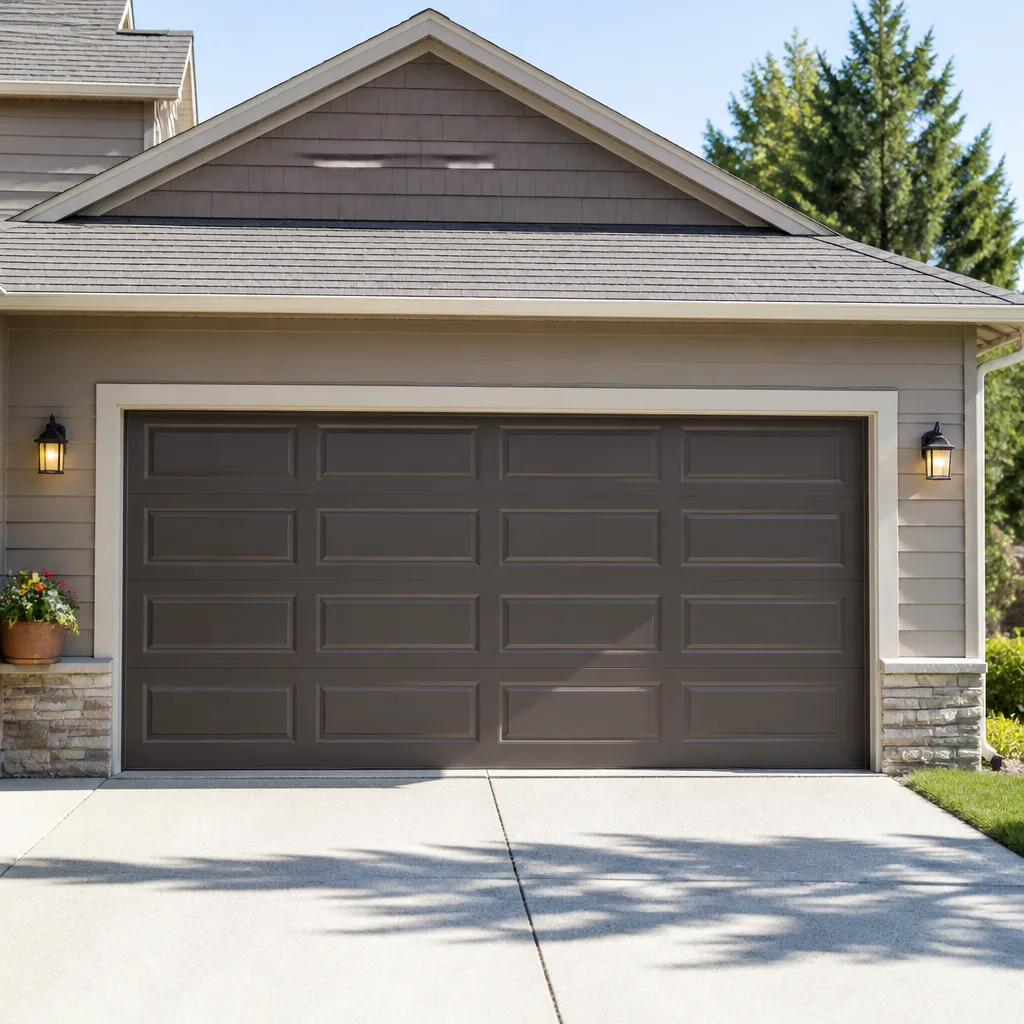 Raised-panel steel
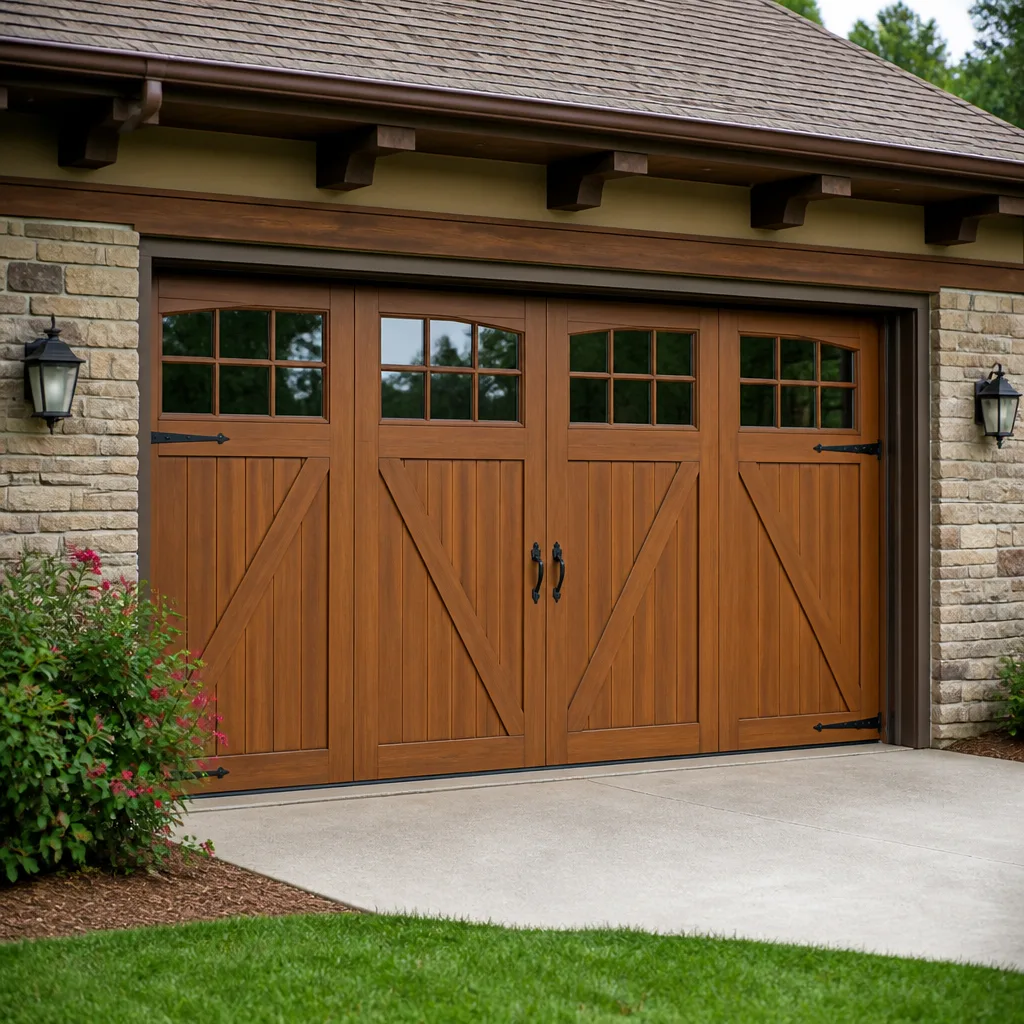 Carriage house
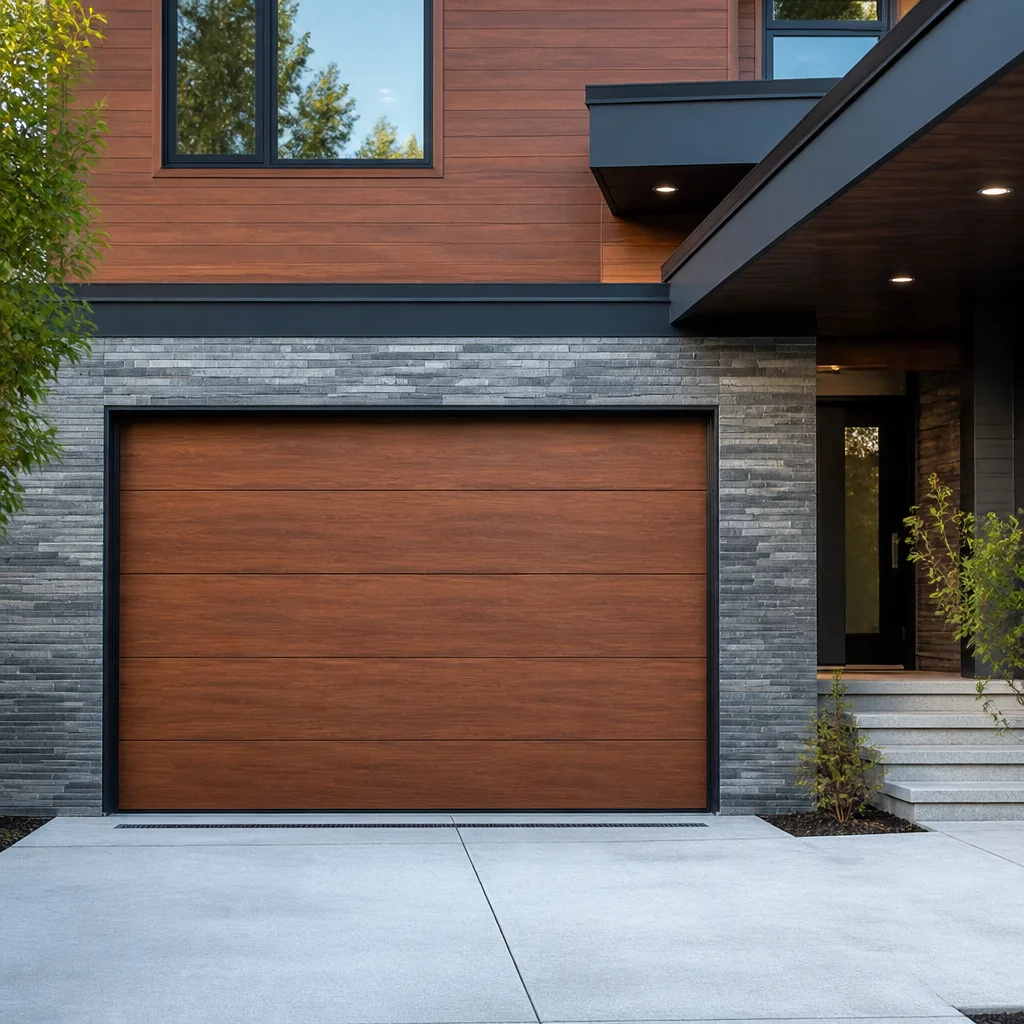 Modern flush
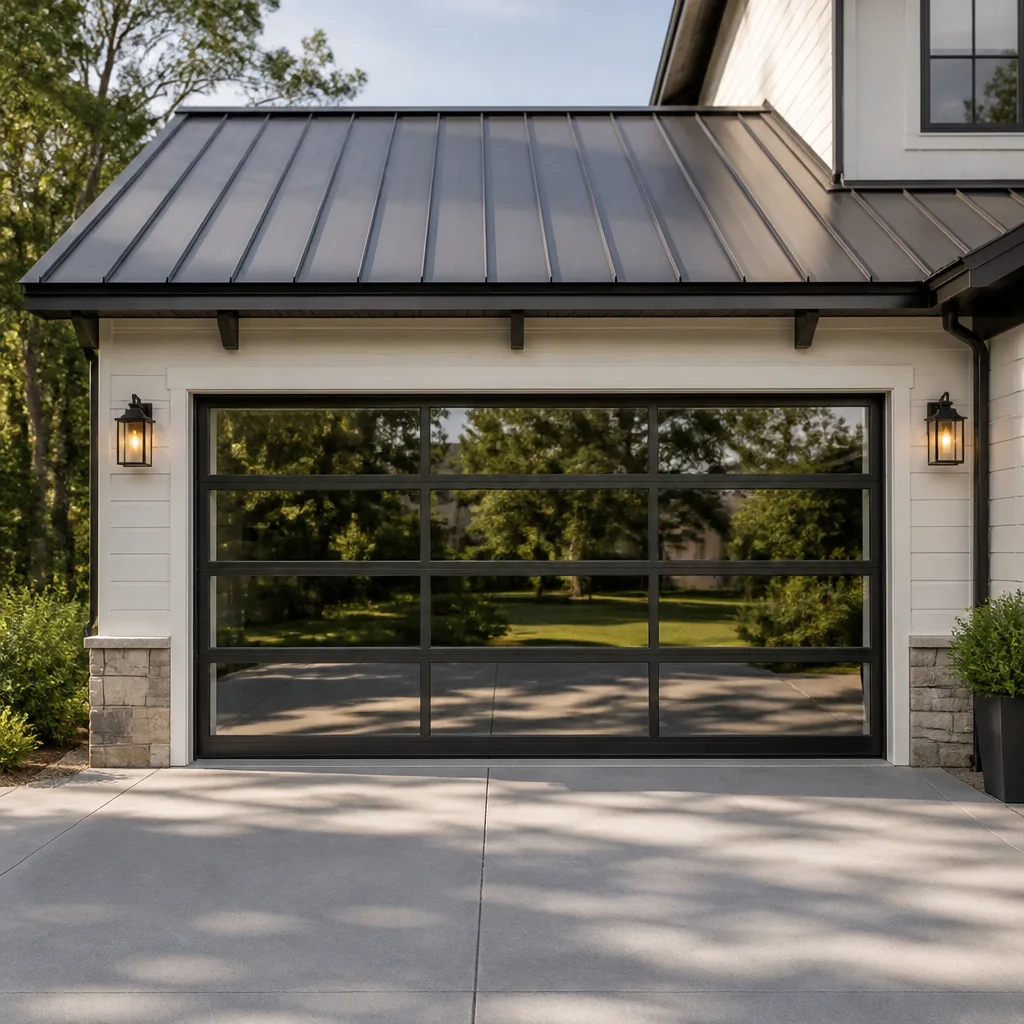 Full-view glass
 LiftMaster openers
 Chamberlain openers
Full 25-point door and opener safety check with every visit - springs, cables, rollers, tracks, and your LiftMaster or Chamberlain opener included
You get a price before we start. It does not change when the truck arrives.
Get your free estimateDIY vs Professional Garage Door: The Hesperia Homeowner’s Decision Guide
Every year in the High Desert, homeowners end up in urgent care because a YouTube video made garage door repair look manageable. The counterintuitive reality: the most dangerous component on your entire property isn’t a power saw or an extension ladder. It’s a torsion spring that costs somewhere between $40 and $80 as a raw part. What makes the DIY-vs-pro decision in Hesperia genuinely different from, say, a light fixture swap is that the risk curve isn’t gradual. Some tasks are flat-out safe for a competent homeowner with the right tools. Others can change your life in under a second. This guide draws a specific line between the two, covering the exact tasks in each category, the reasoning behind the classifications, and the way a smart Hesperia homeowner uses DIY knowledge even when they’re not the one holding the wrench. For more guides & resources, see our blog.
Styles & brands we work with
- Raised-panel steel
- Carriage house
- Modern flush
- Full-view glass
- LiftMaster openers
- Chamberlain openers
Quick Answer
Most garage door tasks in Hesperia fall into one of three buckets: genuinely safe for DIY (painting, weatherstripping, keypad replacement, sensor alignment), conditionally safe with preparation (lubrication, limit adjustment, roller replacement on standard tracks), and never DIY under any circumstances (torsion spring work, cable replacement under tension, opener motor logic board repair). The single exception to the never-DIY rule is any task involving a torsion spring under load, because the stored energy can release without warning and cause catastrophic injury. For everything else, the decision comes down to your comfort level, the specific tools you already own, whether you’re willing to accept the cost of a mistake, and if you’ve reviewed a Garage Door Cost Breakdown: The Hesperia Homeowner’s Reference for 2026 to understand what that mistake might run you.
Table of Contents
- The Three-Bucket Classification: Every Garage Door Task, Categorized
- Never DIY: What Actually Goes Wrong with Torsion Springs
- Conditionally Safe: Tasks That Depend on Your Tools and Mindset
- Definitely DIY: Tasks That Genuinely Don’t Require a Pro
- The Hidden Costs of DIY Mistakes: Warranties, Springs, and Safety Reversal
- What You Actually Need: A Specific Tool and Knowledge List for Safe DIY
- Using DIY Knowledge Strategically: Diagnose Accurately, Verify Quotes, Avoid Overselling
- Hesperia-Specific Factors: Where the High Desert Changes the Math
- Common Mistakes to Avoid
- When to Call a Professional
- Frequently Asked Questions
- The Bottom Line
The Three-Bucket Classification: Every Garage Door Task, Categorized
Here’s the framework we use when a Hesperia homeowner asks us whether they should attempt a repair themselves. Instead of a binary yes-or-no, we sort every garage door task into one of three buckets: definitively safe, conditionally safe, and never DIY. The sorting criteria are simple. Does the task involve stored mechanical energy? Does it require working with cables or springs under tension? Can the failure mode of the task cause the door to fall, snap, or release unexpectedly? And can a mistake injure you, someone else, or damage your vehicle in a way that isn’t recoverable?
The bucket breakdown, in plain terms:
- Definitively safe: tasks where the failure mode is cosmetic, slow-moving, or easily corrected with no risk of injury. Painting a garage door, replacing weatherstripping along the bottom or side, programming a new keypad, changing remote batteries, and aligning photo-eye sensors all live here.
- Conditionally safe: tasks that are safe only if you have specific tools, specific knowledge, or both. Lubricating hinges and rollers, adjusting the travel limits on a Chamberlain or LiftMaster opener, replacing rollers on standard (non-tensioned) tracks, and tightening loose hardware fall into this bucket. The condition is the tool or the skill: skip the condition, and the task migrates to the risky column.
- Never DIY: tasks that involve torsion springs, extension springs, or lift cables moving under load. No amount of mechanical aptitude changes this classification. A torsion spring on a double-wide Clopay or Wayne Dalton door holds roughly 200 to 250 pounds of torque per spring when properly wound. When it releases, it doesn’t give you time to react.
The reason most guides fail Hesperia homeowners is that they present this as a spectrum when it’s really a step function. One category kills people. The other two don’t. The skill is knowing which category you’re standing in before you pick up a socket wrench.
Never DIY: What Actually Goes Wrong with Torsion Springs
Torsion springs aren’t just ‘harder’ than other garage door parts. They’re in a fundamentally different risk class, and understanding why requires knowing what they do. A torsion spring is wound tightly around a steel rod above your door opening. That winding process stores rotational energy: enough of it to lift a 150-to-300-pound door dozens of times a day for years. When the spring breaks, the door becomes dead weight. When the spring is improperly wound or manipulated, the release of that stored energy is instantaneous and directed through two steel winding bars.
Here’s what goes wrong in practice:
- The winding bar slip: you’re adjusting the spring with a winding bar, it slips out of the set screw, and the spring unwinds violently. The bar becomes a projectile. People have lost fingers, fractured jaws, and worse.
- The under-wound or over-wound spring: even if you get the spring on without injury, winding it to the wrong tension changes how the door balances. An under-wound spring forces the opener motor to work harder and burns it out within months. An over-wound spring can yank the door upward unexpectedly, smashing the top panel against the header.
- The mismatched spring: each spring is rated for a specific door weight, height, and track radius. You can’t just eyeball a replacement at the hardware store. A spring matched incorrectly accelerates cable wear, uneven door travel, and premature failure of the new spring: sometimes within a single season in Hesperia’s temperature swings.
- The cable interaction: torsion springs work in tandem with lift cables. If a cable is old, frayed, or slightly misaligned, a spring adjustment can cause the cable to snap under tension. That’s a second projectile, this time with a sharp metal end.
We work on Genie, Clopay, Amarr, and Wayne Dalton doors regularly, and the spring systems differ slightly across each manufacturer’s hardware. That’s part of why generic internet advice fails: a winding technique that works on one brand’s spring cone doesn’t apply cleanly to another’s. Garage doors are all we do, and we still approach every spring job with focused caution. A homeowner approaching the same job for the first time, working from a video that may not match their specific door, is starting at a disadvantage they may not recover from.
Conditionally Safe: Tasks That Depend on Your Tools and Mindset
These are the in-between jobs: the ones where ‘should I do this myself’ doesn’t have a universal answer. The condition you’re checking is your own preparation. Do you have the exact tool the task requires, not a ‘close enough’ substitute? Do you understand what the part is supposed to do before you touch it? If both answers are yes, proceed. If either is no, you’re guessing, and garage door systems don’t reward guessing.
Task 1: Lubricating Hinges, Rollers, and Bearings
The condition: you use the right lubricant. That’s a lithium-based grease spray or a dedicated garage door lubricant. Not WD-40. WD-40 is a water displacer and degreaser; it strips the existing lubrication off metal-to-metal contact points and makes your door noisier within a few weeks. Apply a small amount to each hinge pivot, the roller stems, and the bearing plates on either end of the torsion system. Wipe excess immediately with a rag. This is a 20-minute job that makes a real difference in Hesperia, where fine desert dust mixes with lubricant and forms a grinding paste if you over-apply. Light coat, every six months.
Task 2: Adjusting Travel Limits on a Modern Opener
The condition: you own the opener’s manual or can navigate its control panel confidently. Travel limits tell the opener when the door has reached fully open or fully closed. If your door stops short of the floor or reverses before hitting it, the limits may need adjustment. On most LiftMaster, Chamberlain, Genie, and Craftsman openers, this is a simple two-button procedure on the opener head. The risk isn’t physical harm: it’s getting the limit wrong in the other direction and forcing the door against the floor or the header, which stresses the gear and sprocket system. Read the manual for your specific model, make adjustments in small increments, and test after each change. If your opener is more than 10 years old and the buttons aren’t clearly labeled, stop and call a professional.
Task 3: Replacing Rollers on Standard Tracks
The condition: your door uses standard rollers on standard tracks, not the bottom-roller system on a Wayne Dalton TorqueMaster or similar proprietary design. Bottom-roller doors route the lift cable through the bottom fixture, meaning you’re working in the cable’s path when you replace that bottom roller. On a standard roller system, you can replace the top and middle rollers by bending the track open slightly with a pair of locking pliers. The bottom roller replacement requires releasing the door from the opener and carefully manipulating the cable. If at any point you’re unsure whether your door’s bottom fixture is under tension, stop. The visible question is the roller. The actual question is always: ‘Is the cable attached to this in a way that will fight me?’ When it is, it’s a professional job.
- Confirm your door’s roller and track type before touching anything.
- Gather the exact replacement rollers in the correct stem size (typically 7/16-inch or 1/2-inch stem, but confirm against your existing roller).
- Work only on rollers above waist height. Leave the bottom roller alone unless you’re certain there’s no cable interaction.
- Replace one roller at a time, keeping the door in place with locking pliers on the track.
- After replacement, run the door through two full cycles and listen for grinding or binding.
Definitely DIY: Tasks That Genuinely Don’t Require a Pro
The safe DIY column isn’t an empty set. There are genuinely useful tasks on a garage door that a Hesperia homeowner can handle with basic tools and a free afternoon. These tasks share three characteristics: no stored energy, no load-bearing cables, and a failure mode that’s cosmetic or easily reversed. Here is the full, specific list, along with what each task actually involves.
Painting a Steel Garage Door
Steel doors from Clopay and Amarr take paint well if you prepare the surface correctly. Clean the door with a degreasing cleaner, rinse thoroughly, and let it dry completely. Scuff the surface with fine-grit sandpaper, just enough to give the new paint a mechanical bond. Prime any bare steel spots with a metal primer, then apply exterior-grade latex or acrylic paint. Hesperia’s UV exposure is brutal on dark paint colors: a dark steel door facing west can reach 140 degrees in July, which accelerates fading and can cause heat-related warping on cheap doors. Light to medium colors last longer and reflect more of the High Desert sun.
Replacing Weatherstripping
The rubber seal along the bottom of your door wears out every few years, especially in Hesperia’s dry heat, which causes rubber to become brittle and crack. Replacement is straightforward: slide the old seal out of the bottom channel, cut the new seal to length, and slide it in. The side and top weatherstripping (the vinyl strips along the door frame) also go in with a utility knife and a staple gun or small nails. This single task makes a measurable difference in your garage’s temperature in July and your heating bill in February. It also keeps fine desert dust out, which is a year-round battle in this area.
Programming or Replacing a Keypad
If your Genie or LiftMaster keypad stopped working, the fix is usually either a dead battery, corrosion on the contacts, or a simple reprogram. Replace the battery first. If that doesn’t fix it, follow the programming instructions specific to your opener’s color-coded learn button, which takes about five minutes. Replacing the entire keypad with a new one costs between $35 and $70 at any Hesperia hardware store, and the installation is a two-screw job. The one nuance: make sure you buy a keypad that’s compatible with your opener’s frequency. A Genie keypad won’t talk to a Chamberlain opener.
Cleaning and Aligning Photo-Eye Sensors
If your door starts closing, then reverses and goes back up for no apparent reason, the photo-eye sensors at the bottom of the track are the usual suspect. Dust, spiderwebs, or a slight bump from a trash can will misalign the beam. Wipe the lens on each side with a clean cloth. Check that the small indicator lights on both sensors are lit steadily, not flickering. If one sensor’s light is off or blinking, loosen the wing nut, adjust the sensor until the light steadies, and tighten it back down. This 15-minute fix resolves a surprisingly high percentage of ‘broken opener’ service calls.
The Hidden Costs of DIY Mistakes: Warranties, Springs, and Safety Reversal
The most expensive DIY mistake isn’t the one that hurts you. It’s the one that voids a warranty, creates a cascade failure, or quietly disables a safety mechanism that would have protected your family or your car. That’s why we recommend every Hesperia homeowner keep our Garage Door Emergency Preparedness Guide for Hesperia Homes bookmarked. These failures don’t announce themselves. A door keeps opening and closing just fine for months while a hidden problem compounds.
Voided opener warranties. LiftMaster and Chamberlain have expressly stated that opener warranties don’t cover damage caused by improper installation, modification, or service by an unqualified person. If you adjust a limit incorrectly and strip the gear, the manufacturer’s warranty won’t save you. The out-of-pocket cost for a new gear kit and labor lands around $150 to $250, and that’s before you factor in the afternoon you spent diagnosing it. Garage door opener repair in Hesperia becomes a different conversation when the warranty is already void.
Incorrect spring sizing that accelerates cable wear. When a spring is replaced with the wrong size, the door doesn’t balance. It may look fine for a few weeks. But the lift cables on one side or the other start carrying more than their share of the load. Cables under uneven load fray from the inside, and a frayed cable under tension is a cable that will snap, usually when the door is mid-travel. When it goes, the door drops on one corner, bending the track, denting the panel, and potentially hitting whatever is underneath it. That single spring mistake can turn into a $400 to $700 repair: cable, track, panel, and sometimes a vehicle dent.
Improperly set force limits that fail safety reversal tests. Every modern opener has a force adjustment: the amount of resistance it takes before the opener reverses direction. Set this too high, and the door will keep pressing down on an obstruction rather than reversing. A child’s toy, a bike wheel, a pet: the door doesn’t care. The Consumer Product Safety Commission mandates that all openers manufactured after 1993 have a reversing mechanism, but that mechanism only works if the force limit is set correctly. A homeowner who replaces a gear or a circuit board and doesn’t recalibrate the force limit has effectively removed the safety feature. The door looks fine. It isn’t.
What You Actually Need: A Specific Tool and Knowledge List for Safe DIY
‘Basic tool kit’ is the laziest phrase in home repair advice. It doesn’t tell you whether you’re actually prepared. Here, specifically, is what a Hesperia homeowner needs to have on hand before attempting any of the conditionally safe tasks, and what they need to know before using it.
The Tool List
- A 6-foot step ladder: not a chair, not a bucket. Door tracks run above your head, and you’ll be working at eye level to the torsion system.
- A socket wrench set with 3/8-inch and 7/16-inch sockets: these are the most common sizes on garage door hardware brackets and track mounting bolts.
- Locking pliers (vise grips): used to secure the door track when replacing rollers or to hold a door in place while you work. Two pairs is better than one.
- A torque screwdriver or a regular screwdriver with well-fitting bits: stripped screw heads on garage door hardware are common and irritating. The right bit size prevents them.
- A can of lithium-based spray lubricant or dedicated garage door lubricant: one lubricant only. This is not a category where you improvise with whatever’s in the cabinet.
- A clean rag: for wiping excess lubricant. Fine Hesperia dust plus excess lubricant equals a gritty, stickier problem than the one you were solving.
- A headlamp or a work light that can be aimed: garage door work happens in the shadow of the door itself, and Hesperia garages are rarely bright enough for fine detail work.
The Knowledge List
- You know the exact brand and model of your opener and your door. Not ‘it’s a dark brown one.’ LiftMaster model 8500W is not the same as LiftMaster model 3800. The model number is printed on the opener head and on a label near the top edge of the door panel.
- You understand the relationship between the spring and the cable. The spring stores force. The cable transfers it. Touching either one without understanding the other is how injuries happen.
- You know where the emergency release cord is and what it does. The red cord hanging from the opener rail disengages the door from the motor, so you can operate the door manually. You need to know where this is before you start any work, because if the door starts moving unexpectedly, this is your way to stop it.
- You’ve read the specific instructions for your specific model. Not a general guide. Not a YouTube video from a different brand. The manual for the thing that’s in your garage.
Using DIY Knowledge Strategically: Diagnose Accurately, Verify Quotes, Avoid Overselling
The most valuable use of DIY knowledge isn’t doing work yourself. It’s being an informed consumer when you hire someone else. A Hesperia homeowner who can describe the problem accurately over the phone, recognize a reasonable quote from an inflated one, and spot the difference between a company that’s trying to fix a door and one that’s trying to sell a new one starts from a position of strength.
Diagnose accurately. ‘My garage door is broken’ is the most common sentence we hear on a first call, and the least useful. ‘The door opens about a foot, then stops and reverses: I think it’s the photo-eye sensors’ is a different call entirely. It tells the technician what tools to bring, what parts to stock on the truck, and how long the job will likely take. It also signals that you know something about the system, which changes the nature of the conversation. The person on the other end stops speaking in generalities and starts speaking in specifics.
Verify quotes. A fair quote for garage door work in Hesperia is specific. It names the part by brand and model number, describes the scope of the labor, and states whether the price includes a service call fee or not. A quote that just says ‘door repair: $450’ without telling you what’s being repaired is a red flag. Ask the question: ‘What exactly is being replaced, and what brand is the part?’ If the answer is vague, get a second opinion. If the answer is specific and matches your understanding of your door, you’re likely talking to the right person.
Avoid being oversold. The single most common complaint we hear from Hesperia homeowners is that a previous company recommended replacing an entire door when a targeted repair would have solved the problem. There are times when replacement genuinely makes sense: a door with extensive rust-through on multiple panels, a door that’s been hit by a vehicle and has structural damage, or a door whose brand has been discontinued and whose parts are no longer manufactured. But if your door is a Clopay or Amarr that’s in good structural condition and the problem is a broken spring, a worn roller set, or a faulty opener, replacement is usually unnecessary. The knowledge to tell the difference is the best tool you own. Our approach is repair-first garage door service: we start by looking for the fix, and only recommend replacement when the math says repair won’t hold.
Hesperia-Specific Factors: Where the High Desert Changes the Math
Hesperia isn’t just another suburb. The High Desert climate and geography change how garage doors wear, which changes the DIY calculation. When you’re deciding whether to tackle a project yourself or hire a professional, here’s what’s different about doing it here, compared to doing it in Rancho Cucamonga or Ontario.
Heat accelerates spring fatigue. Torsion springs are rated for a certain number of cycles, typically 10,000 to 20,000. Each open-and-close is one cycle. A Hesperia family that uses the garage as the main entry point cycles the door 4 to 6 times a day, more than double the national average. But the deeper issue is the heat stress. A steel spring soaking in a 100-degree garage day after summer day loses fatigue life faster than the same spring on the coast, where the highs run 20 degrees cooler. That’s why we see spring failures in Hesperia at 8 to 10 years when the manufacturer rates them for 12 to 15. It also means that if you’re doing a conditionally safe task like replacing rollers, you should look at the spring with fresh eyes: if it’s been installed for more than 8 years and shows red or gray powder around the coils, it’s approaching the end of its life, even if it hasn’t broken yet.
Desert dust is a mechanical abrasive. The fine, silty dust that blows through Hesperia in the afternoons gets into every hinge, bearing, and track. It mixes with old lubricant to form a paste that accelerates wear on rollers and hinges. The practical implication: a door that’s been in a Hesperia garage for 5 years typically needs deeper cleaning before lubrication than a door of the same age in a less dusty environment. Neglect this step, and you’re lubricating over a layer of abrasive grime.
High wind events test door stiffness. Hesperia sits in a wind corridor. The same Santa Ana events that push tumbleweeds across the 15 also push against the face of your garage door. A door with loose hinges or a slightly misaligned track flexes under wind load in ways that accelerate frame fatigue. Checking your door’s mounting bolts and hinge fasteners for tightness every fall, before wind season peaks, is a safe DIY task that pays off in structural longevity.
Garage access matters more here. This isn’t a climate factor, it’s a lifestyle one. Most Hesperia homeowners use the garage as their primary entry and exit point. When the door doesn’t open, you’re not just parked outside. You’re locked out of your own house in July. The urgency of garage door repair in this area isn’t about convenience. It’s about garage door service in Hesperia being the difference between a normal day and one where you can’t get into your home.
Common Mistakes to Avoid
- Using WD-40 on hinges and rollers because that’s what’s in the cabinet. WD-40 strips lubrication rather than adding it. The right product is a lithium-based grease spray or a dedicated garage door lubricant. Using the wrong one is worse than using nothing.
- Deciding the torsion spring ‘looks easy’ after watching a video, without checking whether the video matches your door brand. A Genie spring cone is not the same as a Wayne Dalton TorqueMaster. The wind-up procedure differs. The risk curve does not.
- Replacing a roller without checking whether the bottom fixture carries the cable under tension. Bottom-roller doors route the lift cable through the bottom roller bracket. The moment you unbolt that bracket, you’re wrestling a loaded cable. A professional never does that with bare hands and no locking tool.
- Painting over rust without treating it first. In Hesperia, rust starts small but spreads under paint if you don’t sand it off and prime with a rust-inhibiting metal primer first. Paint doesn’t kill rust. It hides it while the rust keeps growing.
- Ignoring a door that’s become noisier, on the assumption that a noisy door is a working door. Noise is usually friction. Friction causes heat. Heat causes wear. A noisy door that isn’t lubricated and adjusted on schedule will fail earlier than a quiet one. And the failure tends to happen when you’re late for work, not on a peaceful Saturday.
- Adjusting the opener’s force limit without understanding what it does. The force limit is the safety mechanism that makes your door reverse when it hits an obstruction. Setting it too high means the door won’t reverse. Setting it too low means the door won’t close at all. Both are common DIY errors with real consequences.
- Buying a replacement spring online ‘because it’s cheaper,’ then installing it without confirming the wire size, inside diameter, length, and wind direction. Each of those four specifications matters. A spring that’s nominally the same size but wrong in any one dimension will either fail early or damage the rest of the door system. This is the exact scenario where a pro’s brand knowledge earns its fee.
When to Call a Professional
Call a professional when the task involves torsion springs, extension springs, lift cables, or the opener’s motor and logic board. Call when the door is off-balance, visibly sagging on one side, or making a sharp banging sound during travel. Call when you’ve tried the safe DIY fixes (sensor cleaning, keypad battery, limit adjustment) and the problem persists. Call when the door won’t open at all and you need to get a car out of the garage. Call when your door is a Wayne Dalton TorqueMaster or any system with proprietary components that generic parts won’t fit. Our team at Garage Door Service Hesperia works exclusively on garage doors, which means when you call us, you’re not getting a generalist who fixes a door between plumbing estimates. The same team handles garage door installation in Hesperia when replacement does become the right call. For a free estimate in Hesperia, call (833) 620-6388.
Frequently Asked Questions
The torsion spring is by far the most dangerous component on your property, storing enough rotational force to lift hundreds of pounds and releasing it instantly if mishandled. Extension springs and lift cables under tension are in the same category. None of these should ever be worked on by a homeowner, regardless of mechanical experience. If you’re in Hesperia and your spring has snapped, call a professional rather than touching anything near the spring bracket.
It’s physically possible to remove an old opener and mount a new one, but doing it correctly involves matching the opener to the door’s weight, balancing the door first, setting the force limits correctly, and calibrating the safety reversal. You should also confirm whether your project needs permits – our Garage Door Permits, Codes & Inspections in CA: What You Need to Know covers the requirements. A mistake in any of those steps voids the warranty and disables a safety feature. If you’re confident in electrical work and you’ve read the full manual for the specific opener model, it’s a conditionally safe task. If any part of that sentence made you hesitate, it’s a professional job.
In Hesperia, torsion springs typically last 8 to 10 years under normal use, which is shorter than the 12-to-15-year ratings found in coastal climates. The combination of High Desert heat and higher cycle counts (many Hesperia households use the garage door as their primary entry, cycling it 4 to 6 times per day) accelerates spring fatigue. If your spring is past year 8 and has visible red or gray powder around the coils, it’s approaching failure.
A door that reverses before closing fully is usually tripping the photo-eye sensor. Dust on the lens, a slight misalignment, or direct sunlight hitting one sensor in the afternoon can all trigger a false obstruction signal. Clean both lenses, check that the indicator lights are steady, and realign the sensors if needed. If the problem persists after that, the force limit or travel limit may need adjustment, which is a conditionally safe DIY task if you have the manual for your specific opener.
Most garage door problems are repairable: worn rollers, broken springs, faulty openers, and misaligned tracks are all targeted fixes. Full replacement makes sense when there’s structural damage across multiple panels, rust-through that compromises the door’s integrity, or a discontinued brand with no available parts. A repair-first approach means looking for the fix before recommending a new door, which is how we operate at Garage Door Service Hesperia. The brands we work on include Genie, Clopay, Amarr, and Wayne Dalton, so if we tell you a part is available or not, it’s because we checked the specific brand you own.
Garage door repair costs in Hesperia vary by task: a spring replacement typically runs $180 to $350 including parts and labor, a roller replacement $120 to $220, and an opener gear replacement $150 to $250. Full-door replacement starts around $1,200 and goes up based on brand and insulation level. Every job we quote takes into account the specific door and opener you own, because the right part for your specific model costs what it costs. Call (833) 620-6388 for an exact quote on your door and issue, and you’ll have a specific number before any work starts.
The Bottom Line
The garage door is the largest moving object in your home, and the line between safe DIY and professional work on it is specific, not general. Painting, weatherstripping, keypad programming, sensor cleaning, lubrication, and limit adjustment can all be handled by a competent Hesperia homeowner with the right tools. Torsion springs, lift cables, and opener internals cannot. The skill isn’t knowing which tools to use. It’s knowing which category you’re standing in, and being honest about it before you touch anything. If you’re ever uncertain, call a specialist. Free estimates at (833) 620-6388.
Written by the team at Garage Door Service Hesperia, serving Hesperia since 2015.
See the difference
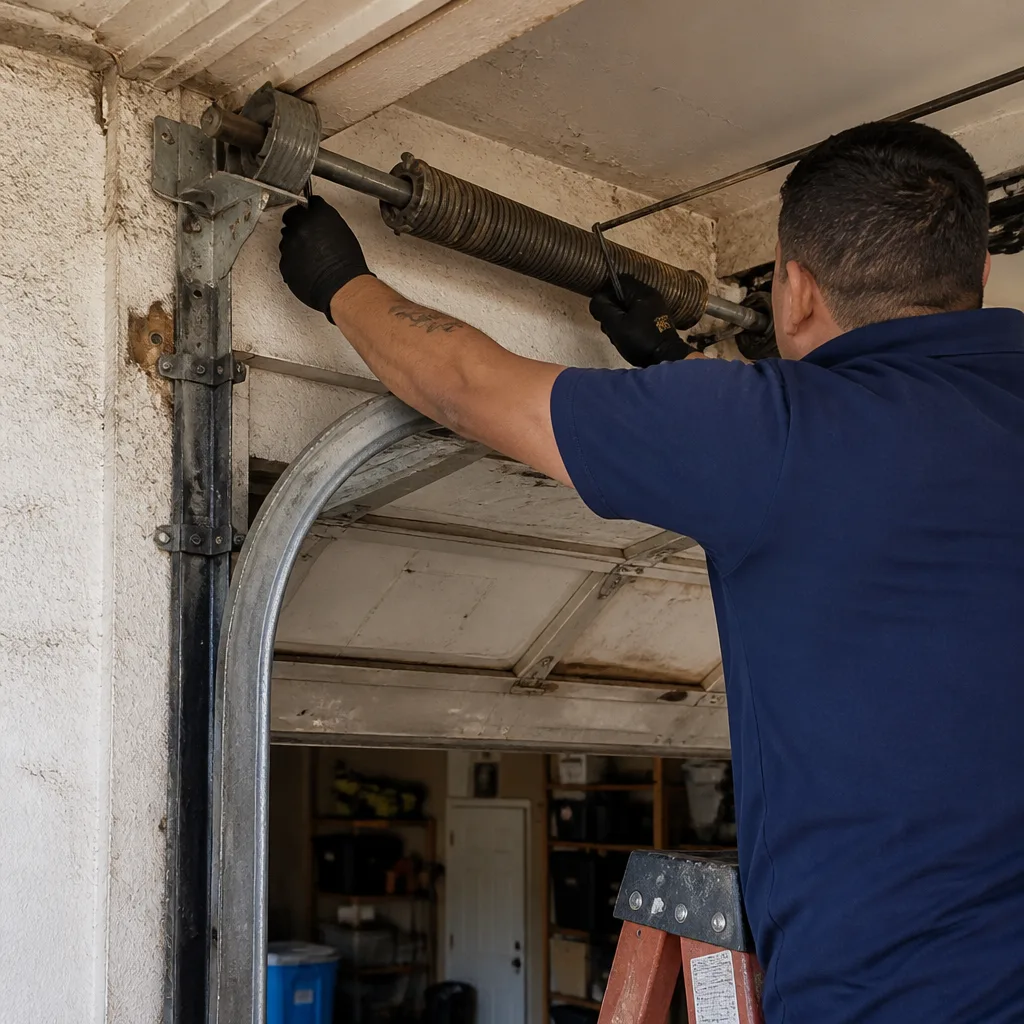 Before
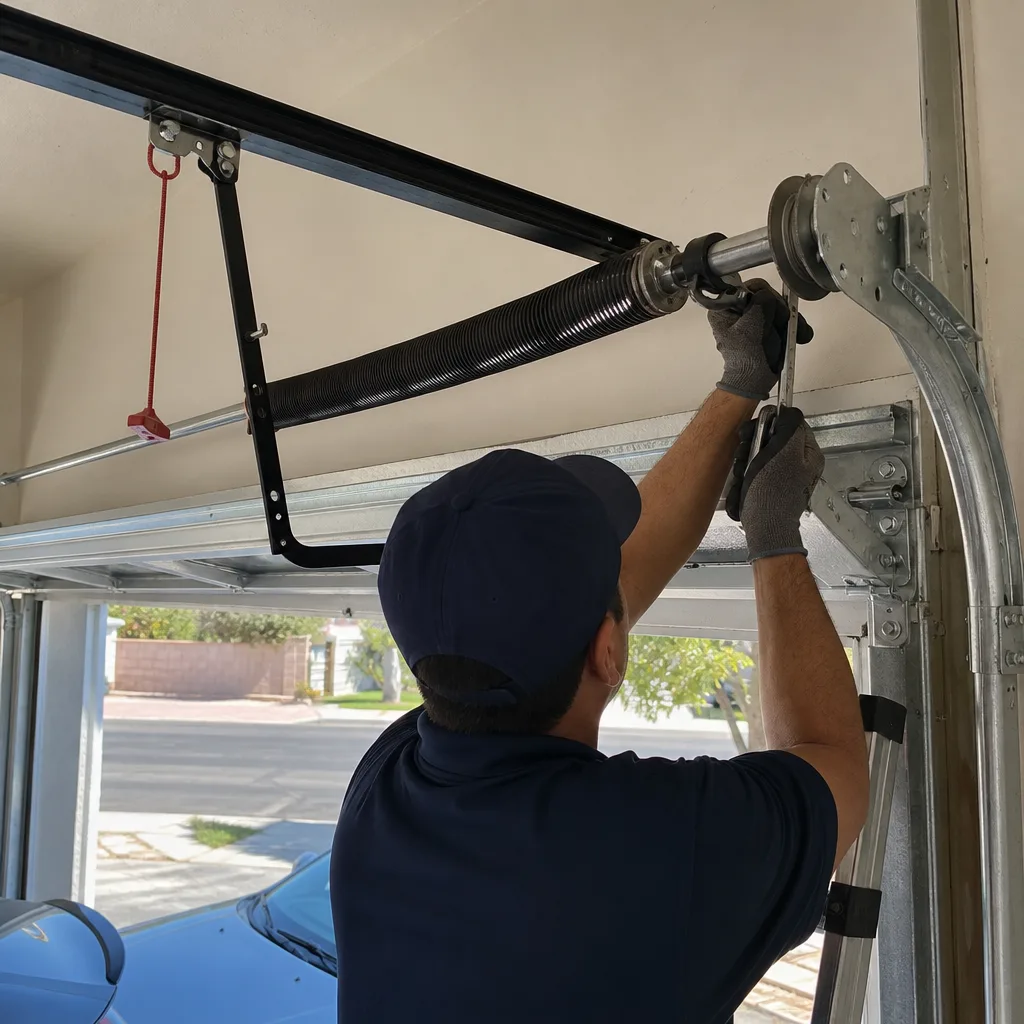 After
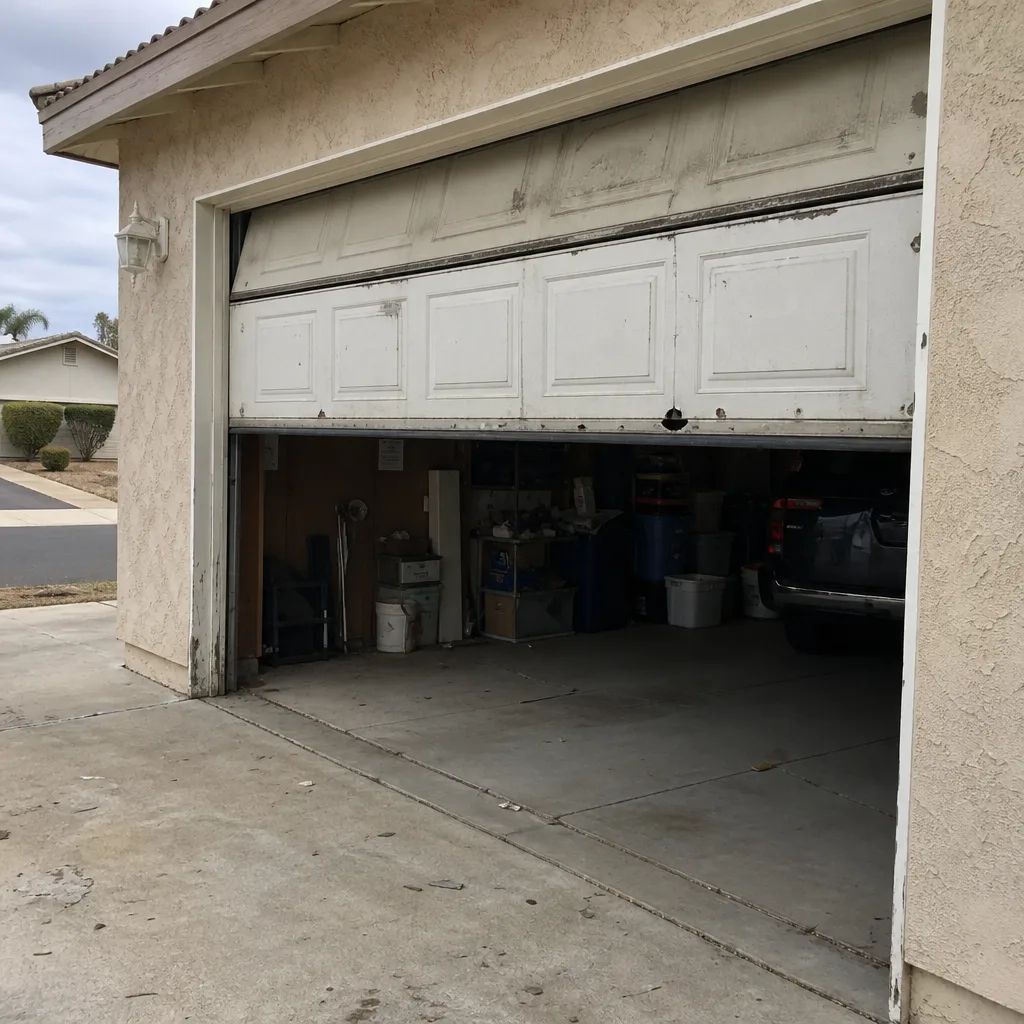 Before
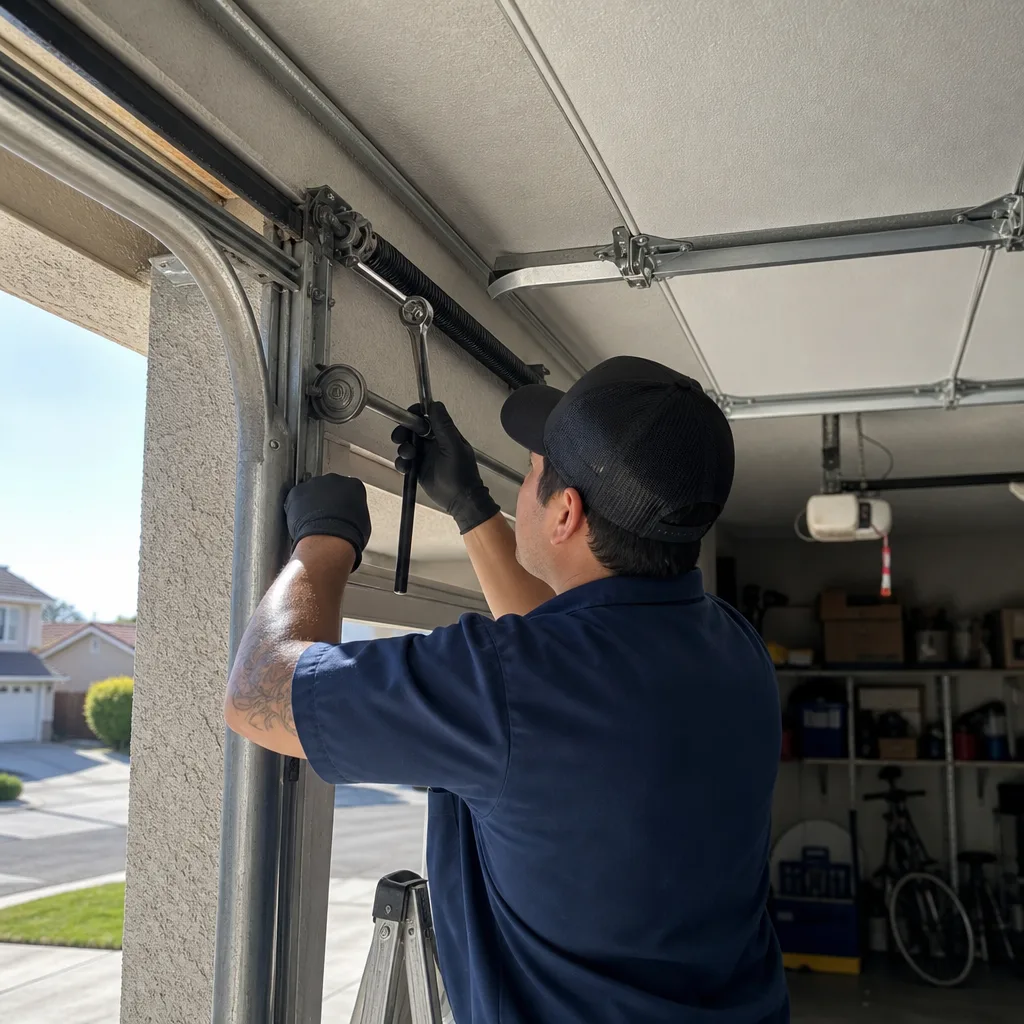 After
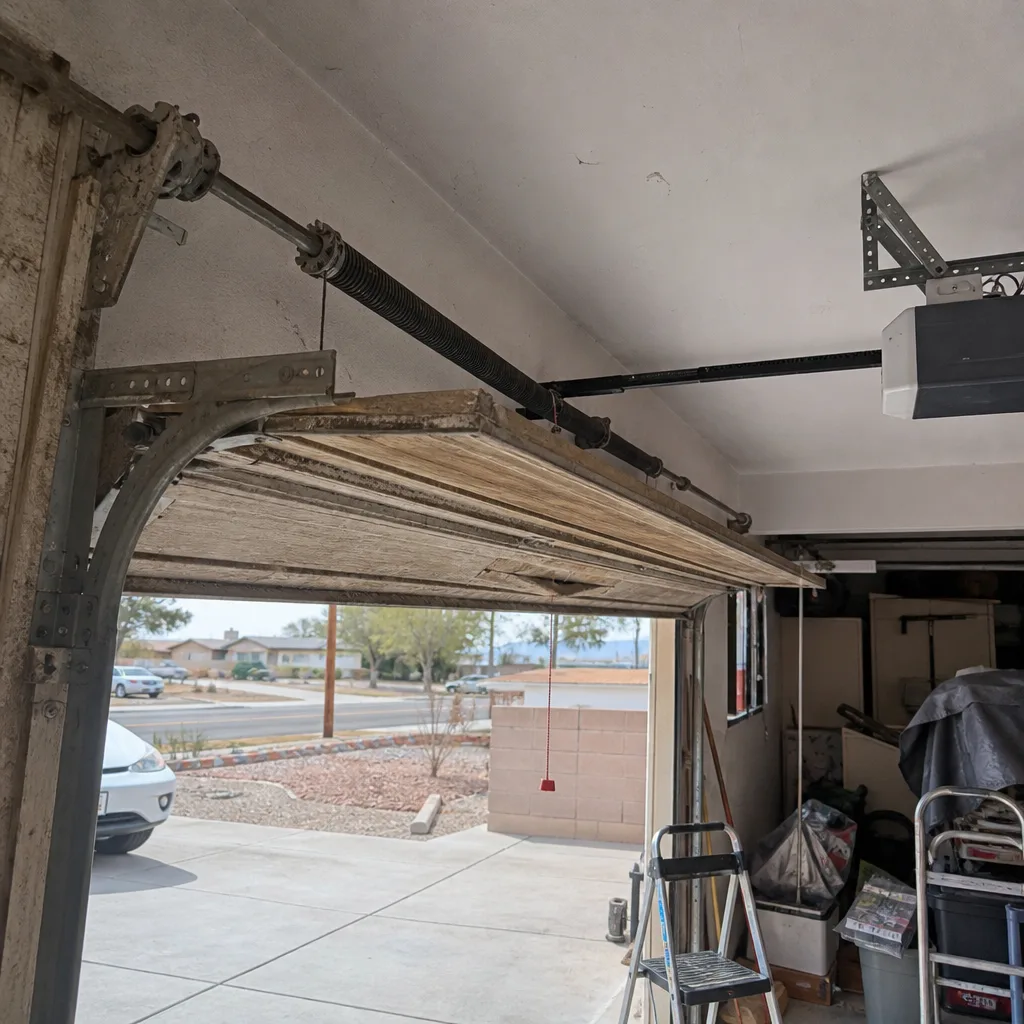 Before
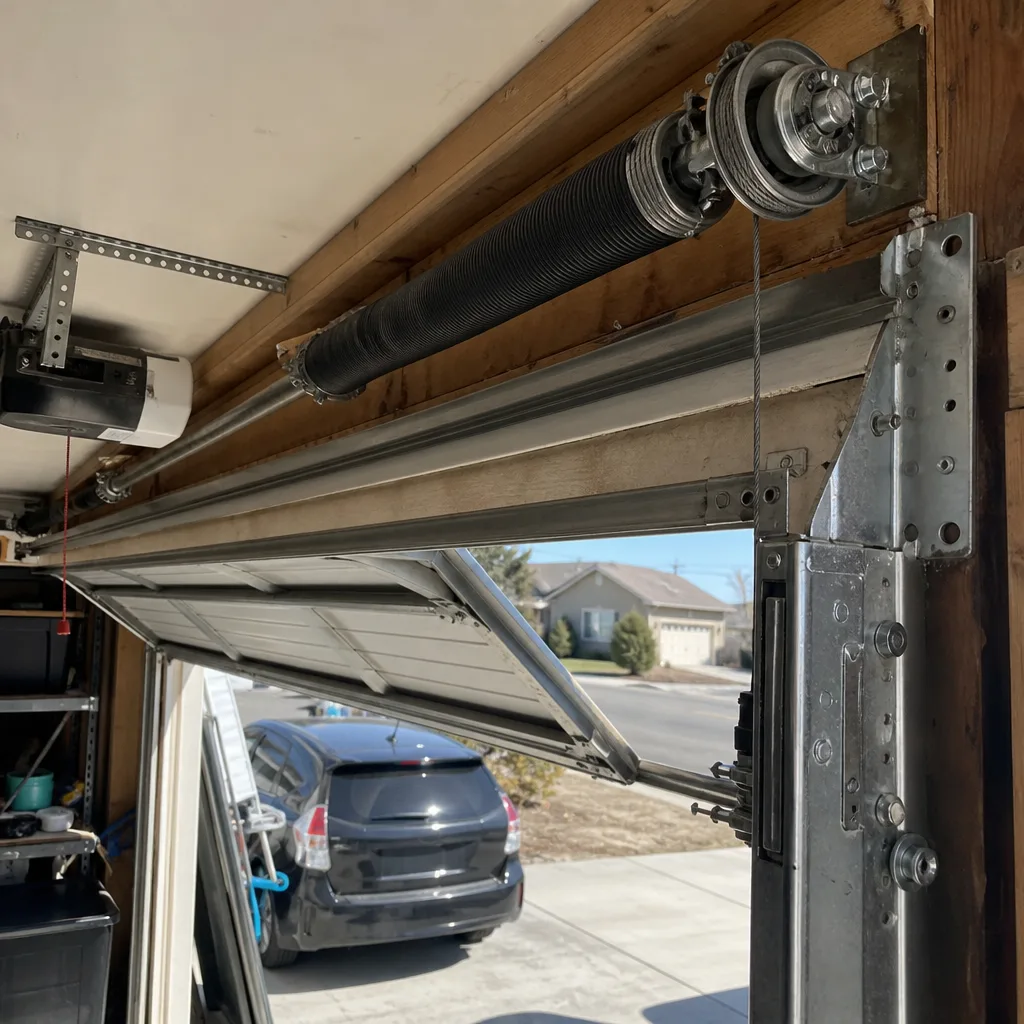 After